Imagine, if you will, how you feel when you are outside in the dark and someone shines a bright flashlight in your face. Your pupils are wide open and the light hurts your eyes, making you look away. Well, your camera feels the same and it tells you with overexposed moon images. Your camera sees the moon as a bright light shining in its eye (lens) and hopes you will close its pupil (aperture) down so that it won’t hurt (blow out the detail). Remember, when shooting the moon, you should protect your poor camera from moon blindness by using a small aperture!
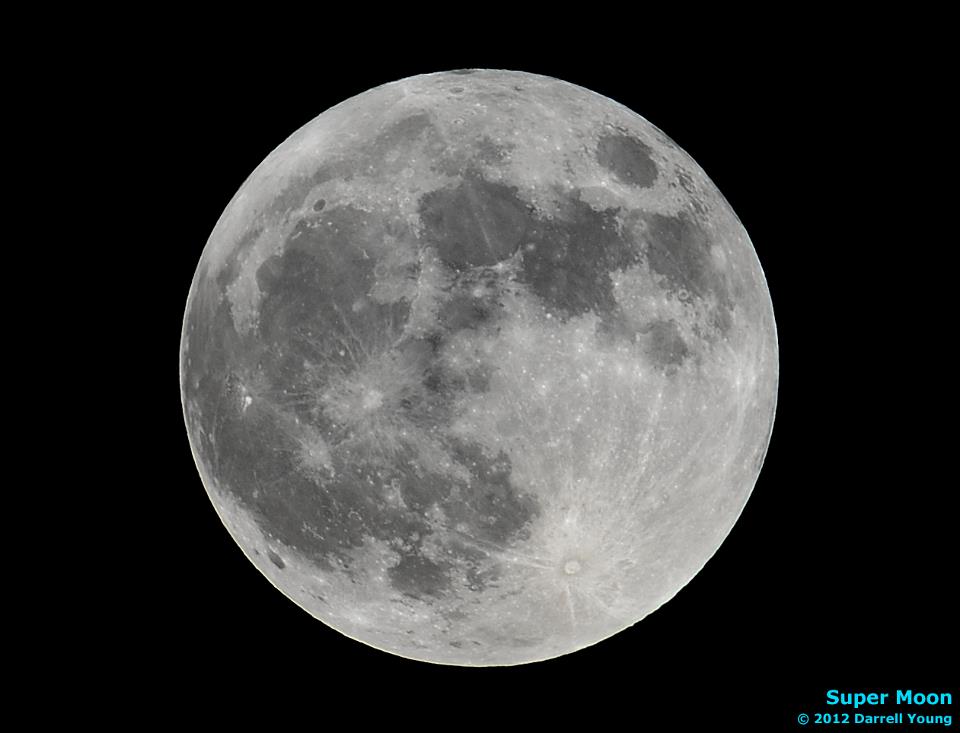
Super Moon: Nikon D800, AF-S Nikkor 80-400mm lens at 400mm, 1/125 sec at f/11, ISO 100, on tripod, cropped
Because the moon is a reflection of the sun, you must shoot the moon as if it were a bright sunny day, else there will be no detail in the moon. Here are a few steps to make this better for you:
- Use a tripod
- Use Manual (M) exposure mode
- Set the shutter speed to 1/125 sec, aperture to f/16, and ISO to 100.
- Take a picture. If the moon is too dark, open the aperture to f/11. If still too dark, open to f/8.
This sounds counterintuitive since it is nighttime. However, if you let the camera choose—using one of its auto modes [instead of Manual (M) mode]—all that blackness surrounding the moon will fool the light meter into overexposing the moon.
Most nighttime photography (e.g., star field) is best done in Manual (M) mode so that you can carefully control the exposure. Just think of the moon as a tiny copy of the sun and you will do much better. There’s a LOT of light coming from a full moon.
The moon is small, forcing you to crop the image to make it large enough to be impressive. Therefore, use your longest focal length so that you can capture the moon well. Even a 400mm lens is barely enough to capture a reasonable moon size. Shoot the longest lens you have and crop.
If you are having problems with autofocus racking in and out when you try to focus on the moon, please turn autofocus off with the switch on the side of your lens or front of your camera. Afterward, use the viewfinder or Live view mode to manually focus on the moon, trying to focus so that you can see the Moon’s craters and plains sharply. If you get close you will be okay, The very small apertures required to get a good exposure will provide enough depth of field (zone of sharp focus) to cover minor focusing errors. If you are worried, take a few pictures and go inside and look at them, or, at least, zoom in on the monitor of your camera. If you start early enough, you have time while taking moon shots.
If you are using a tripod—which you should be—you may want to disable any vibration reduction (VR) your lens is using, especially for older lenses. If you are super critical about sharpness, it is good to use hands-off shutter release (cable release) and use the mirror up mode (MUP) to remove any unsharpness from mirror slap.
Finally, it may be a good idea to shoot some pictures slightly underexposed and then lighten them a little in the computer. While that might add a little noise, it could let you capture some detail you might lose otherwise. Primarily, be careful about overexposing the moon and losing detail in the highlights. Shoot a lot of pictures and keep only the best!
If you follow these simple steps, and experiment a little, you will capture some of the best moon shots you’ve ever taken.
Keep on capturing time…
Darrell Young

Darrell Young is an active member of the Nikonians User Community, Nikon Professional Services (NPS), Professional Photographers of America (PPA), North American Nature Photography Association (NANPA), and the author of 18 photography books from NikoniansPress and Picture and Pen Press, through Rocky Nook. You may review a few of Darrell’s books here. He has been an avid photographer since 1968 when his mother gave him a Brownie Hawkeye camera. Here is one of Darrell’s nature image portfolios.
His website, www.PictureAndPen.com, was created to support the readers of his educational books, photography students, and clients. Visitors to his website will find articles and reviews designed to inform, teach, and help you enjoy your photographic journey.