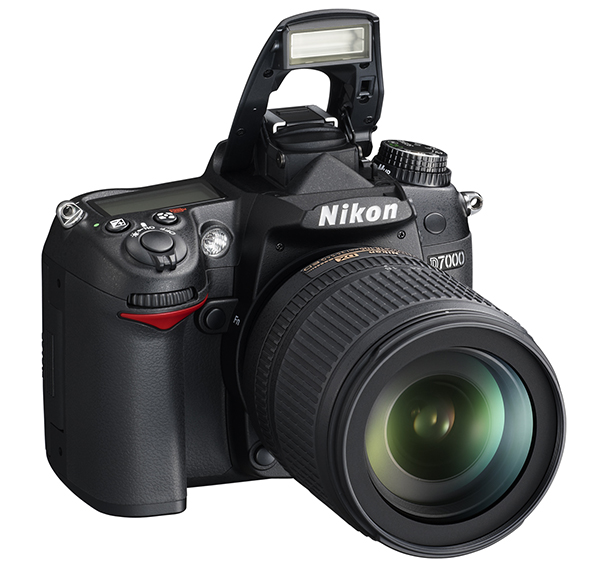
Nikon cameras have several flash modes that change how the flash output from the camera’s popup flash works. Many photographers do not fully understand each of the modes. I am going to use a Nikon D7000 as an example in this article. Virtually all Nikon’s have the same flash modes, although you may access them from a menu or rear LCD monitor, instead of the upper control panel LCD (like on the D800, D600, D7000 and D300S).
Nikon’s Popup Speedlight Flash
Primarily, this article is designed to help you understand the purpose of each of the flash modes. You may need to refer to your camera user’s manual if you cannot figure out how to switch between the modes.
Five Basic Flash Modes
Following are the five basic flash modes and a description of how each works. The camera will often combine these flash modes as you use different shooting modes on the Mode dial. See the list of shooting modes at the end of this section.
Auto
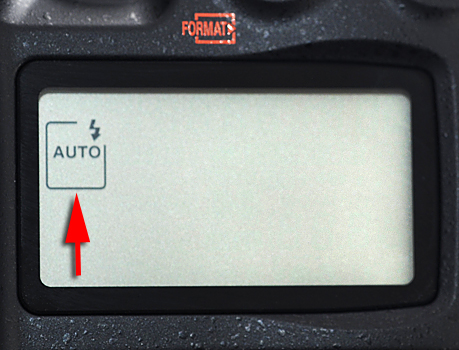
Auto flash mode (figure 1) is usually available only when you are using various SCENE modes, if your camera has SCENE modes. It lets the camera decide when and what type of flash to use. You have no control over the flash when you use Auto mode.
Figure 1 – Auto flash Mode (SCENE modes only)
You can select this mode if you are unsure about which mode to use in a certain circumstance and the camera will do its best to give you a well-exposed picture.
Fill Flash (Front-Curtain Sync)
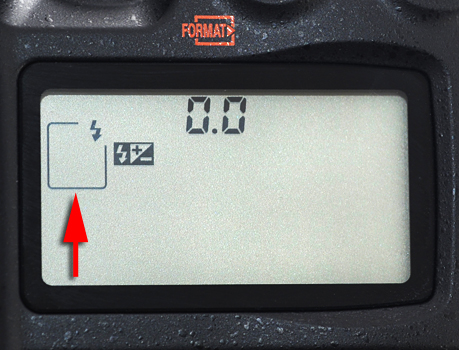
In Fill flash (Front-curtain sync mode), the camera tries its best to balance the light if you’re using a lens that has a CPU in it (figure 2).
Figure 2 – Front-curtain sync (fill flash)
A CPU lens, like an AF-S Nikkor G or D lens, provides subject distance information that helps balance ambient light and light from the flash equally and works to make the light look very natural. If you use this correctly outdoors, it will be hard to tell that you were using flash, except for the catch light in your subject’s eyes and the lack of damaging shadows. The flash simply fills in some extra light without overpowering the ambient light. In a situation where there is very little ambient light, the camera will use only the flash to get a correct exposure. It only balances with ambient light if there is enough ambient light to balance with in the first place.
There is a side effect to using this mode with slow shutter speeds. Fill flash simply causes the flash to fire as soon as the front shutter curtain is out of the way and before the rear shutter curtain starts closing. If there is some ambient light and the shutter speed is long—like 1/2 second—and the subject is moving, you’ll see a well-exposed subject with a blurry trail in front of it. The flash correctly exposes the subject as soon as the front curtain gets out of the way, but the ambient light continues exposing the subject before the rear curtain closes, and since it is moving you may see a ghostlike blur before or in front of the well-exposed moving subject in the picture. This can be seen at shutter speeds as fast as 1/60s if ambient light is strong enough and the subject is moving.
Red-Eye Reduction
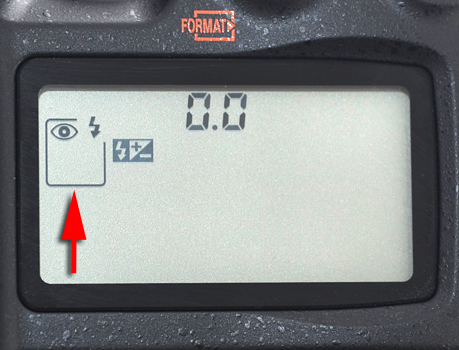
Red-eye reduction is not really a flash mode (figure 3). It simply means that the AF-assist illuminator shines brightly in the face of your subject before the flash fires using Fill flash (front-curtain sync).
Figure 3 – Red-eye reduction
It is hoped that the bright AF-assist illuminator will cause your subject’s pupils to close somewhat and reduce the red-eye effect. It acts like you are using Fill flash (Front-curtain sync mode) otherwise.
Slow Sync
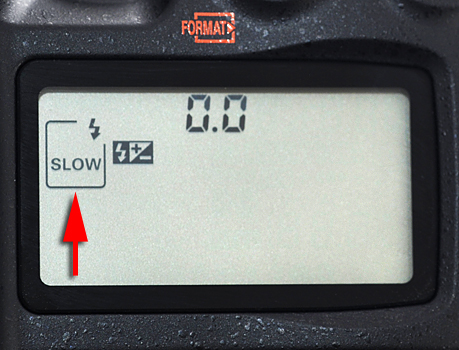
Slow sync mode lets the camera use ambient light to make a good exposure and then fires the flash to add some extra light, rounding out the shadows or better exposing a foreground subject (figure 4). Use this mode in people shots outdoors or where you want ambient light to provide the primary exposure and the flash to add a sparkle to your subject’s eye and remove dark shadows from faces.
Figure 4 – Slow sync
This is closely related to Fill flash, except that the ambient light is more important to the camera than the light from the flash. Be careful when using this mode indoors since it will expose for ambient light and only assist with some flash light. You can get some terrible ghosting and blurred handheld shots when using Slow sync indoors if the light levels are low, which they usually are. Ambient light rules in this mode!
Rear-Curtain Sync
Rear-curtain sync is the opposite of Fill flash, or Front-curtain sync (figure 5). The flash waits to fire just before the rear curtain starts to close. The entire shutter speed time is just ending when the flash fires. This causes a ghosting effect for moving subjects in higher ambient light with slow shutter speeds.
Figure 5 – Rear-curtain sync
You press the Shutter-release button, the front curtain opens, ambient light starts hitting the sensor, and the sensor starts recording the subject. Just as the shutter’s rear curtain is about to close, the flash fires, exposing the subject at its current position. The subject was fully exposed by the flash at the end of the shutter speed time, so the ambient light had time to register the subject before the flash fired, thereby making a blurred ghost behind or after the well-exposed but moving subject.
Flash Mode Combinations
In most Nikons you can use the flash modes individually or in combinations. In certain automatic camera modes you’ll see flash combinations such as: Slow sync + Red-eye reduction or Rear curtain + Slow sync. When you see these combinations, just realize that the combined functions work no differently than the individual modes. In other words, if you have Slow sync + Red-eye reduction, the camera just executes the individual modes in the most beneficial order. They are still individual modes, just executed in a certain sequence.
Read your users manual, or one of my Mastering the Nikon DSLR books, and figure out how your flash works. You’ll learn how to do things like balance outdoor ambient light with your flash or even do some interesting ghosting effects.
Keep on capturing time…
Darrell Young
See my Nikon books here:
http://www.PictureAndPen.com/NikonBooks.asp
